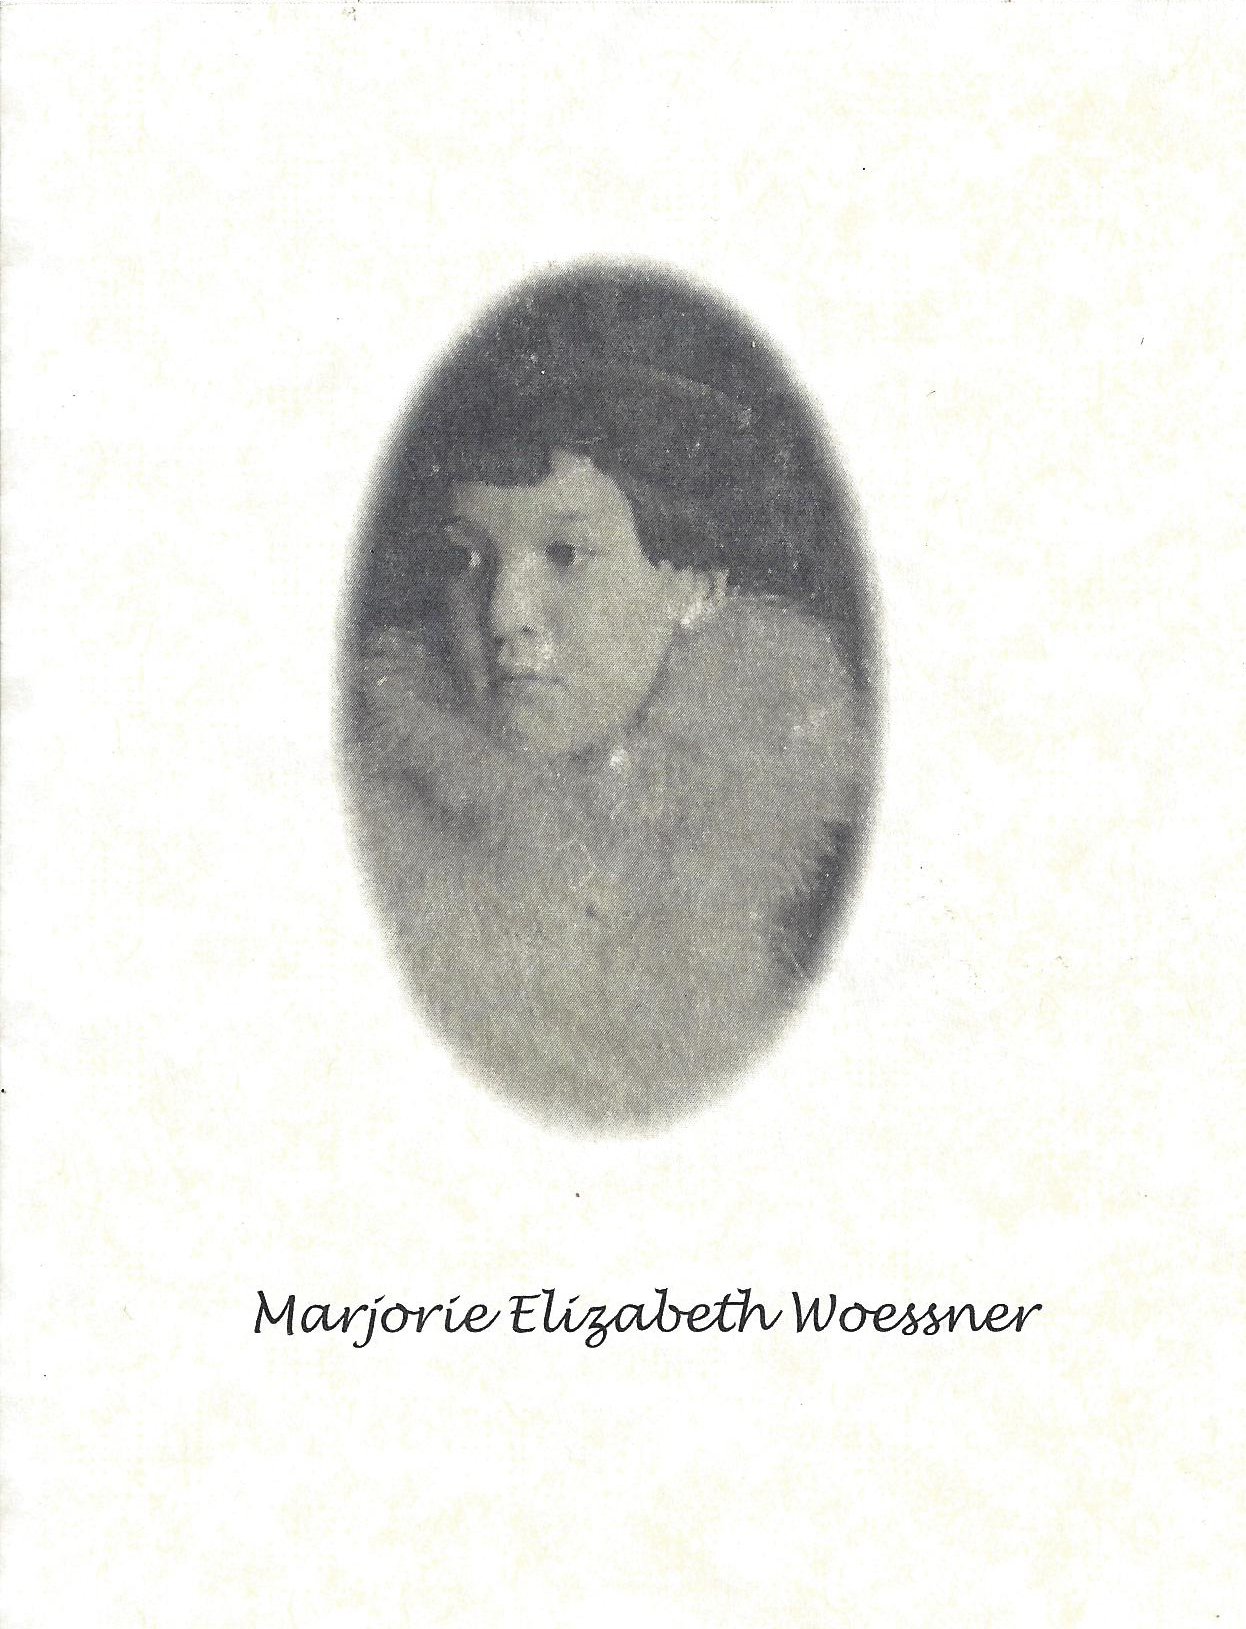
Aunt Marge at around 12 years old near the turn of the 20th century.
I had a lot of great relatives when I was growing up. I didn’t get to see them much because we lived in Virginia and they all lived in Pennsylvaia. I can’t even say I had an extremely close relationship with any of them, but I loved them and knew they loved me. We spent Thanksgiving with them but not Christmas because the drive was too snowy and even if it was a warm winter, you never knew if a snow storm could crop up and we had to pass through the Washington Mountains’ treacherous, winding roads. So, my grandmother and great aunt, who lived together, decorated their whole house for Christmas, complete with Christmas tree and the treasured ornaments their dad, Gus, had made around the turn of the last century. They baked like it was Christmas and that baking included baklava. We aren’t Greek, but my aunt was a wonderful cook and it became a tradition in my family that every year we ate baklava at Thanksgiving, which somehow in my memory morphed into a Christmas memory (they did a good job of making us feel like we spent Christmas together)
.
Every year we made an event out of the presentation of the baklava. Marge would talk about how hard it was and all those layers! The family oo’d and ahh’d and sympathized with all of her hard work and expressed our heart felt gratitude. Then we rolled our eyes in ecstasy at the taste of it. I actually didn’t even like it much when I was a kid (I liked her crescent cookies more), but the specialness of dessert and all the steps that were involved made it feel so Christmasy and I felt very loved that she would take that time for us. When I grew up, I came to love baklava for itself not just for the memories it evoked. Marge lived to be 95 but had stopped making baklava years before. I decided I would give it a try. I found out it is hard and there are a lot of steps, but in my busy life, I love that I take a whole day out to make one thing — no multi-tasking is possible with this one — a rarity in my life. And, it makes me feel like I’m doing something for Marge. I know she would love that I made the effort every Christmas in her honor.
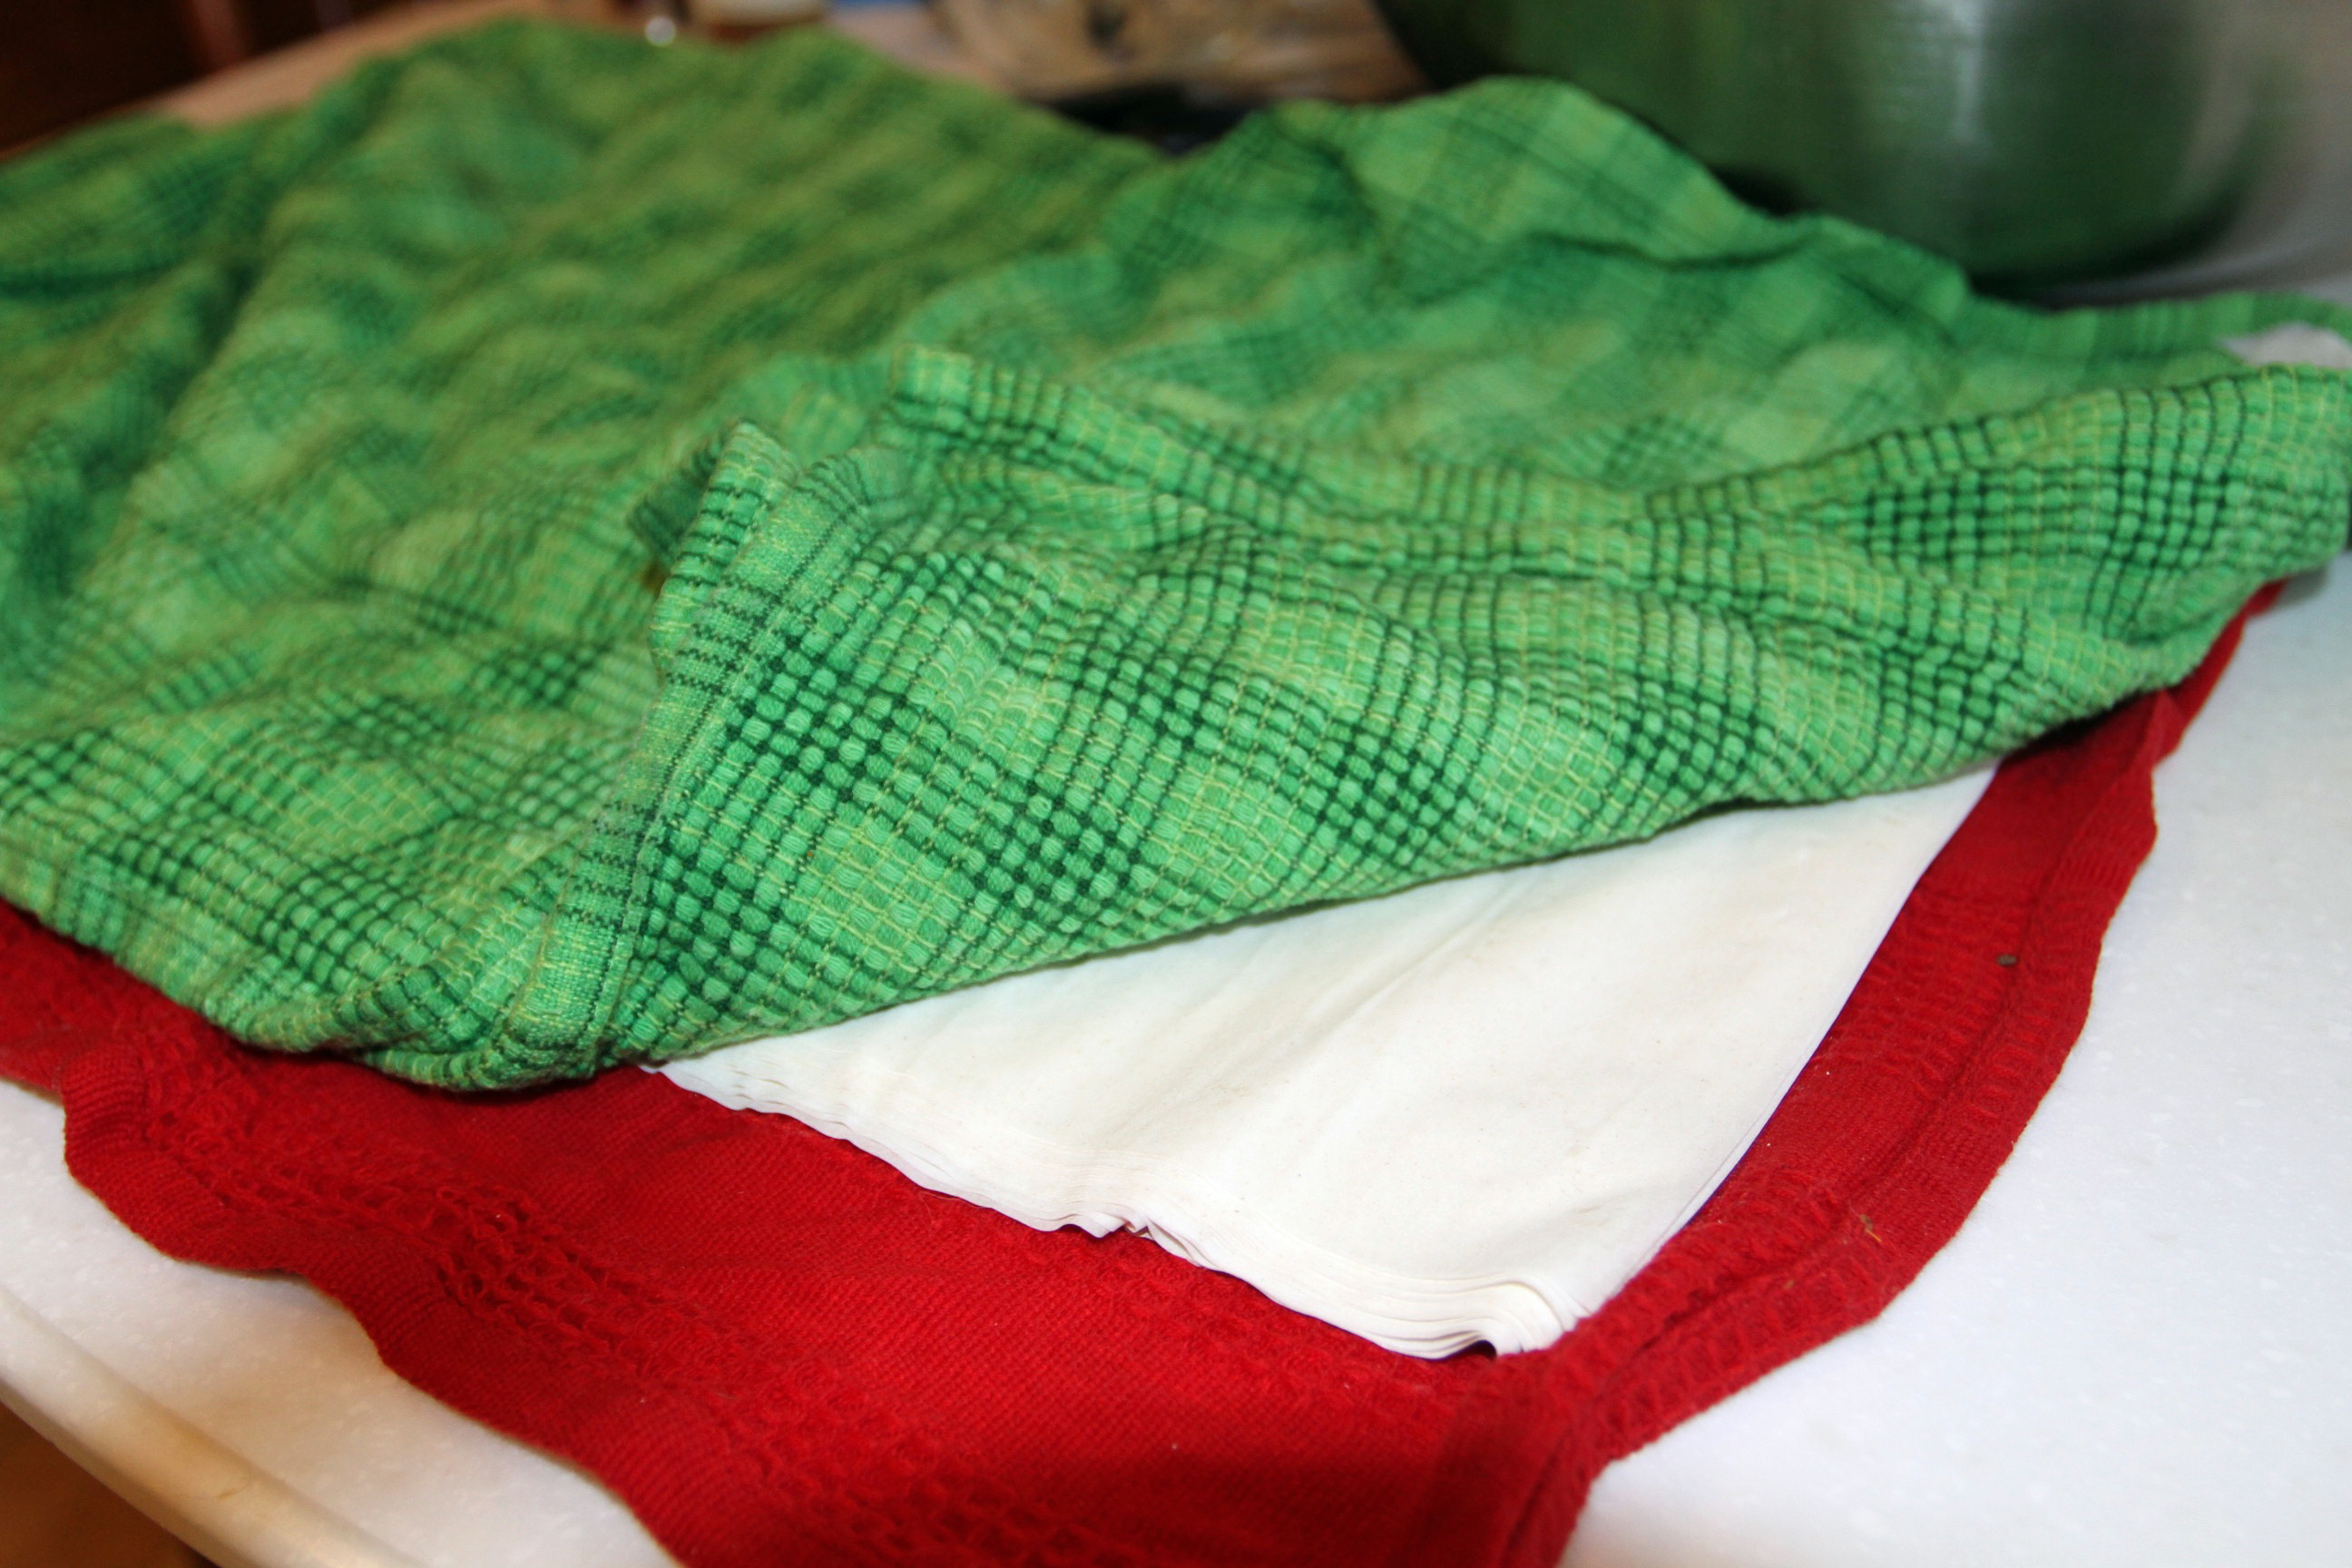
I make it now for our paddle tennis league’s annual cookie exchange, so at minimum I make four pans. At one time, I think I actually made eight pans because there are twelve couples and I felt each couple had to go home with a lot. Now, I’m down to four pans, but it still takes the entire day. Here’s why: Get everything ready and in line on your table in the order you’ll be using them: 1 pound finely chopped nuts mixed with 1 teaspoon cinnamon at least 2 damp kitchen towels 1 cup of melted butter 1 pastry brush (I prefer the silicone one as the boars bristle can leave bristles on the dough that you have to pick out. It’s also good using a spray bottle for the melted butter) 1 9×13 pan brushed with butter.
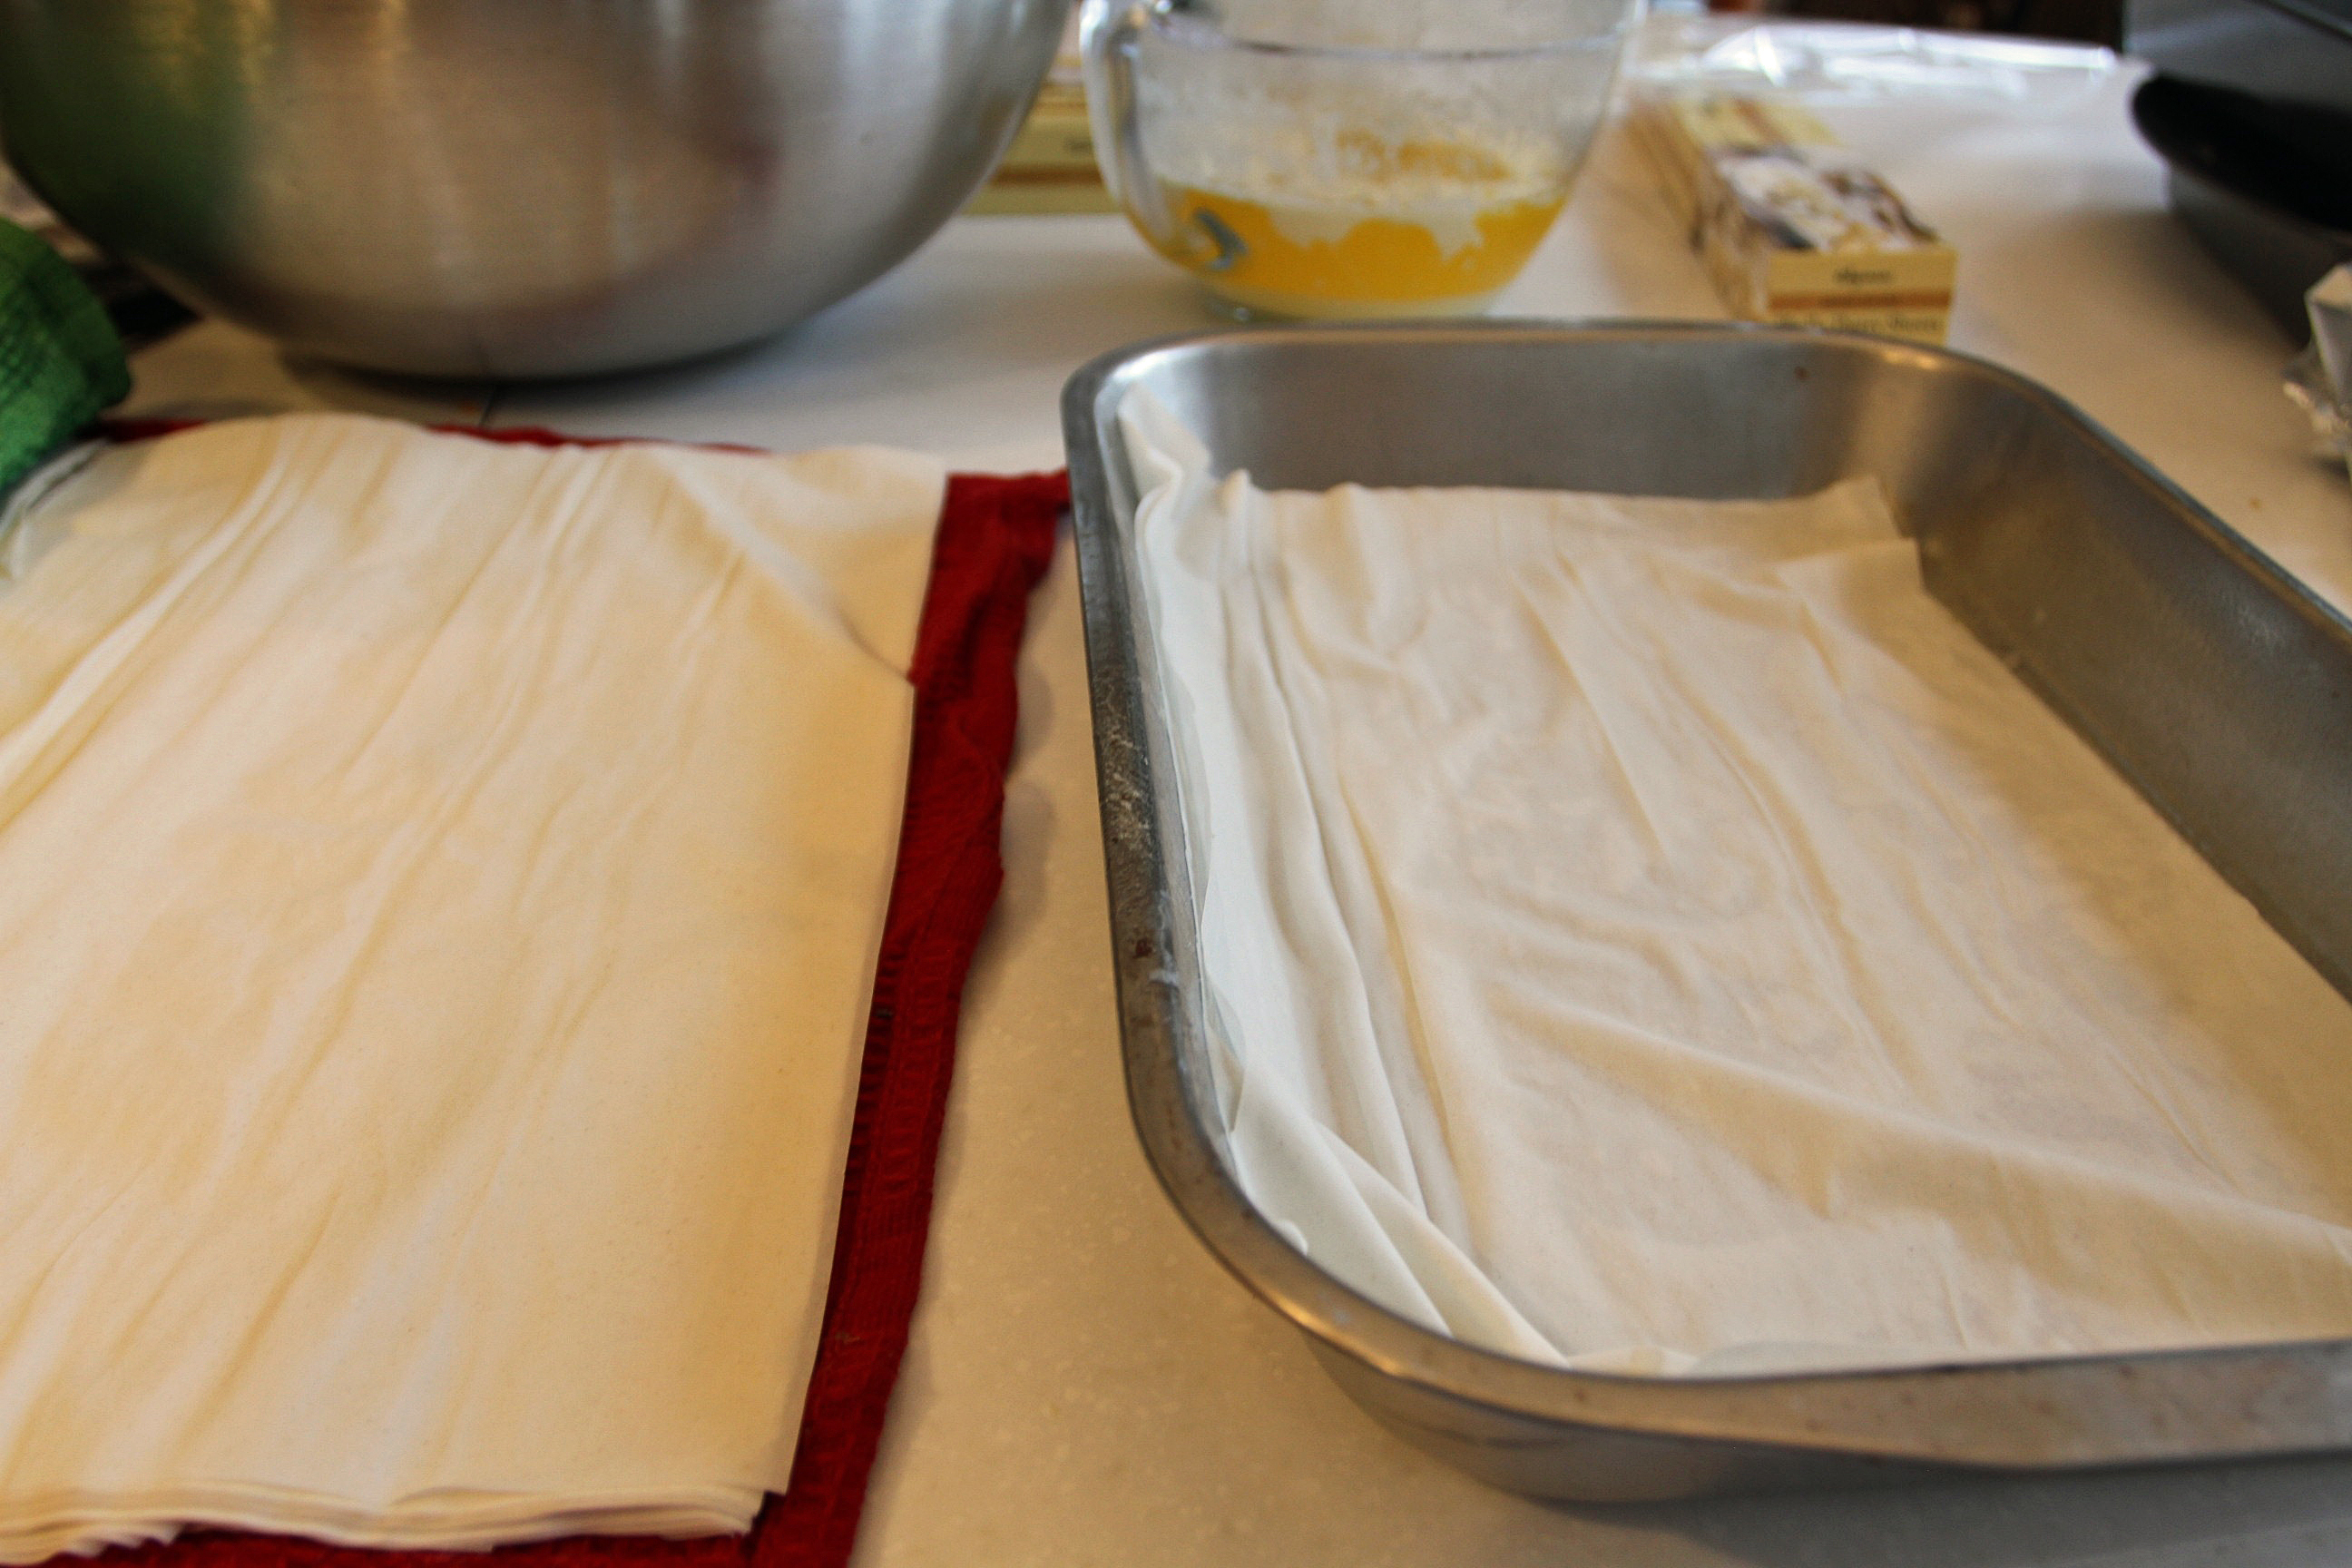
Put at least two damp kitchen towels on the kitchen table. Unwrap the first box of phyllo dough and place sheets on top of a damp towel. Use kitchen shears to cut the sheets in half so that you have two squares (not two long rectangles).

 Place a damp towel on top of the phyllo dough sheets to keep them from drying out. Butter a 9×13 pan (I use both glass and metal).
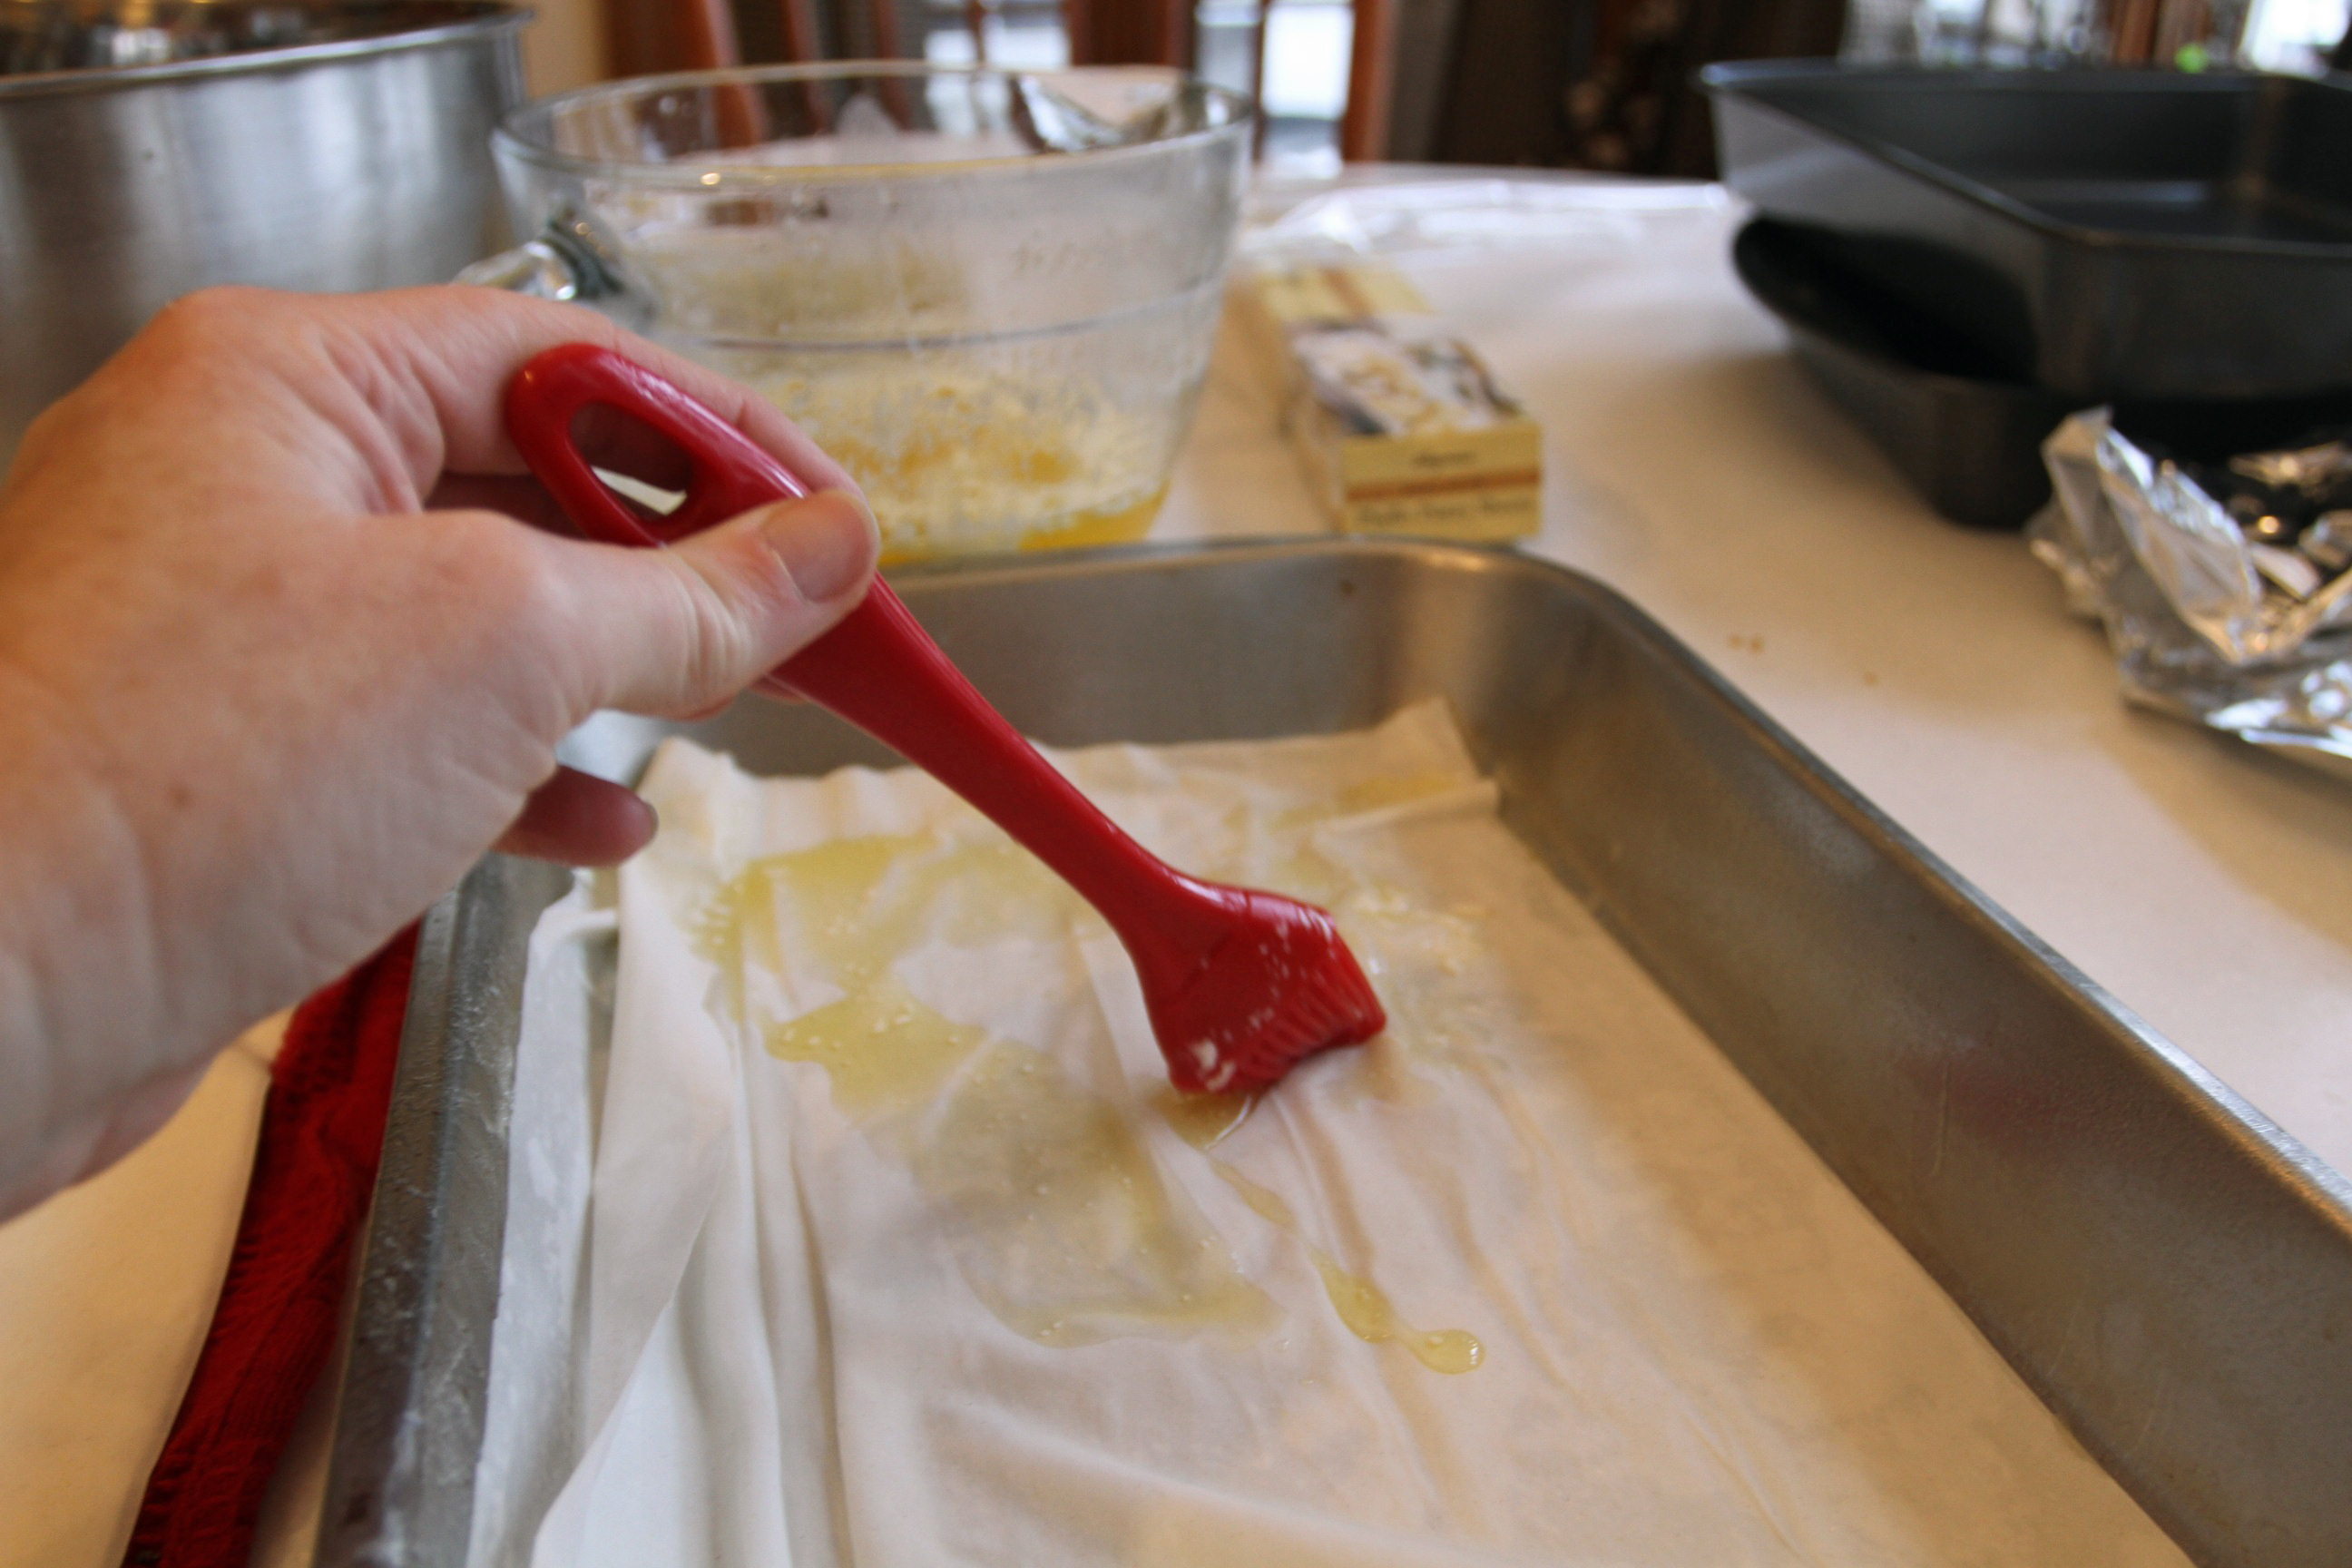
 Layer two sheets of phyllo dough in the bottom of the pan and brush melted butter over them using the pastry brush.
Repeat this step until you have 6-8 sheets for the bottom layer of baklava.

 Spread 2-3 tablespoons of nuts over the dough. Layer 2 more sheets of phyllo dough and brush with butter and sprinkle with 2-3 tablespoons of nuts. Continue these steps until you are near the top of the pan. Make sure you have 6-8 phyllo sheets (buttered every two layers) for the top layer.
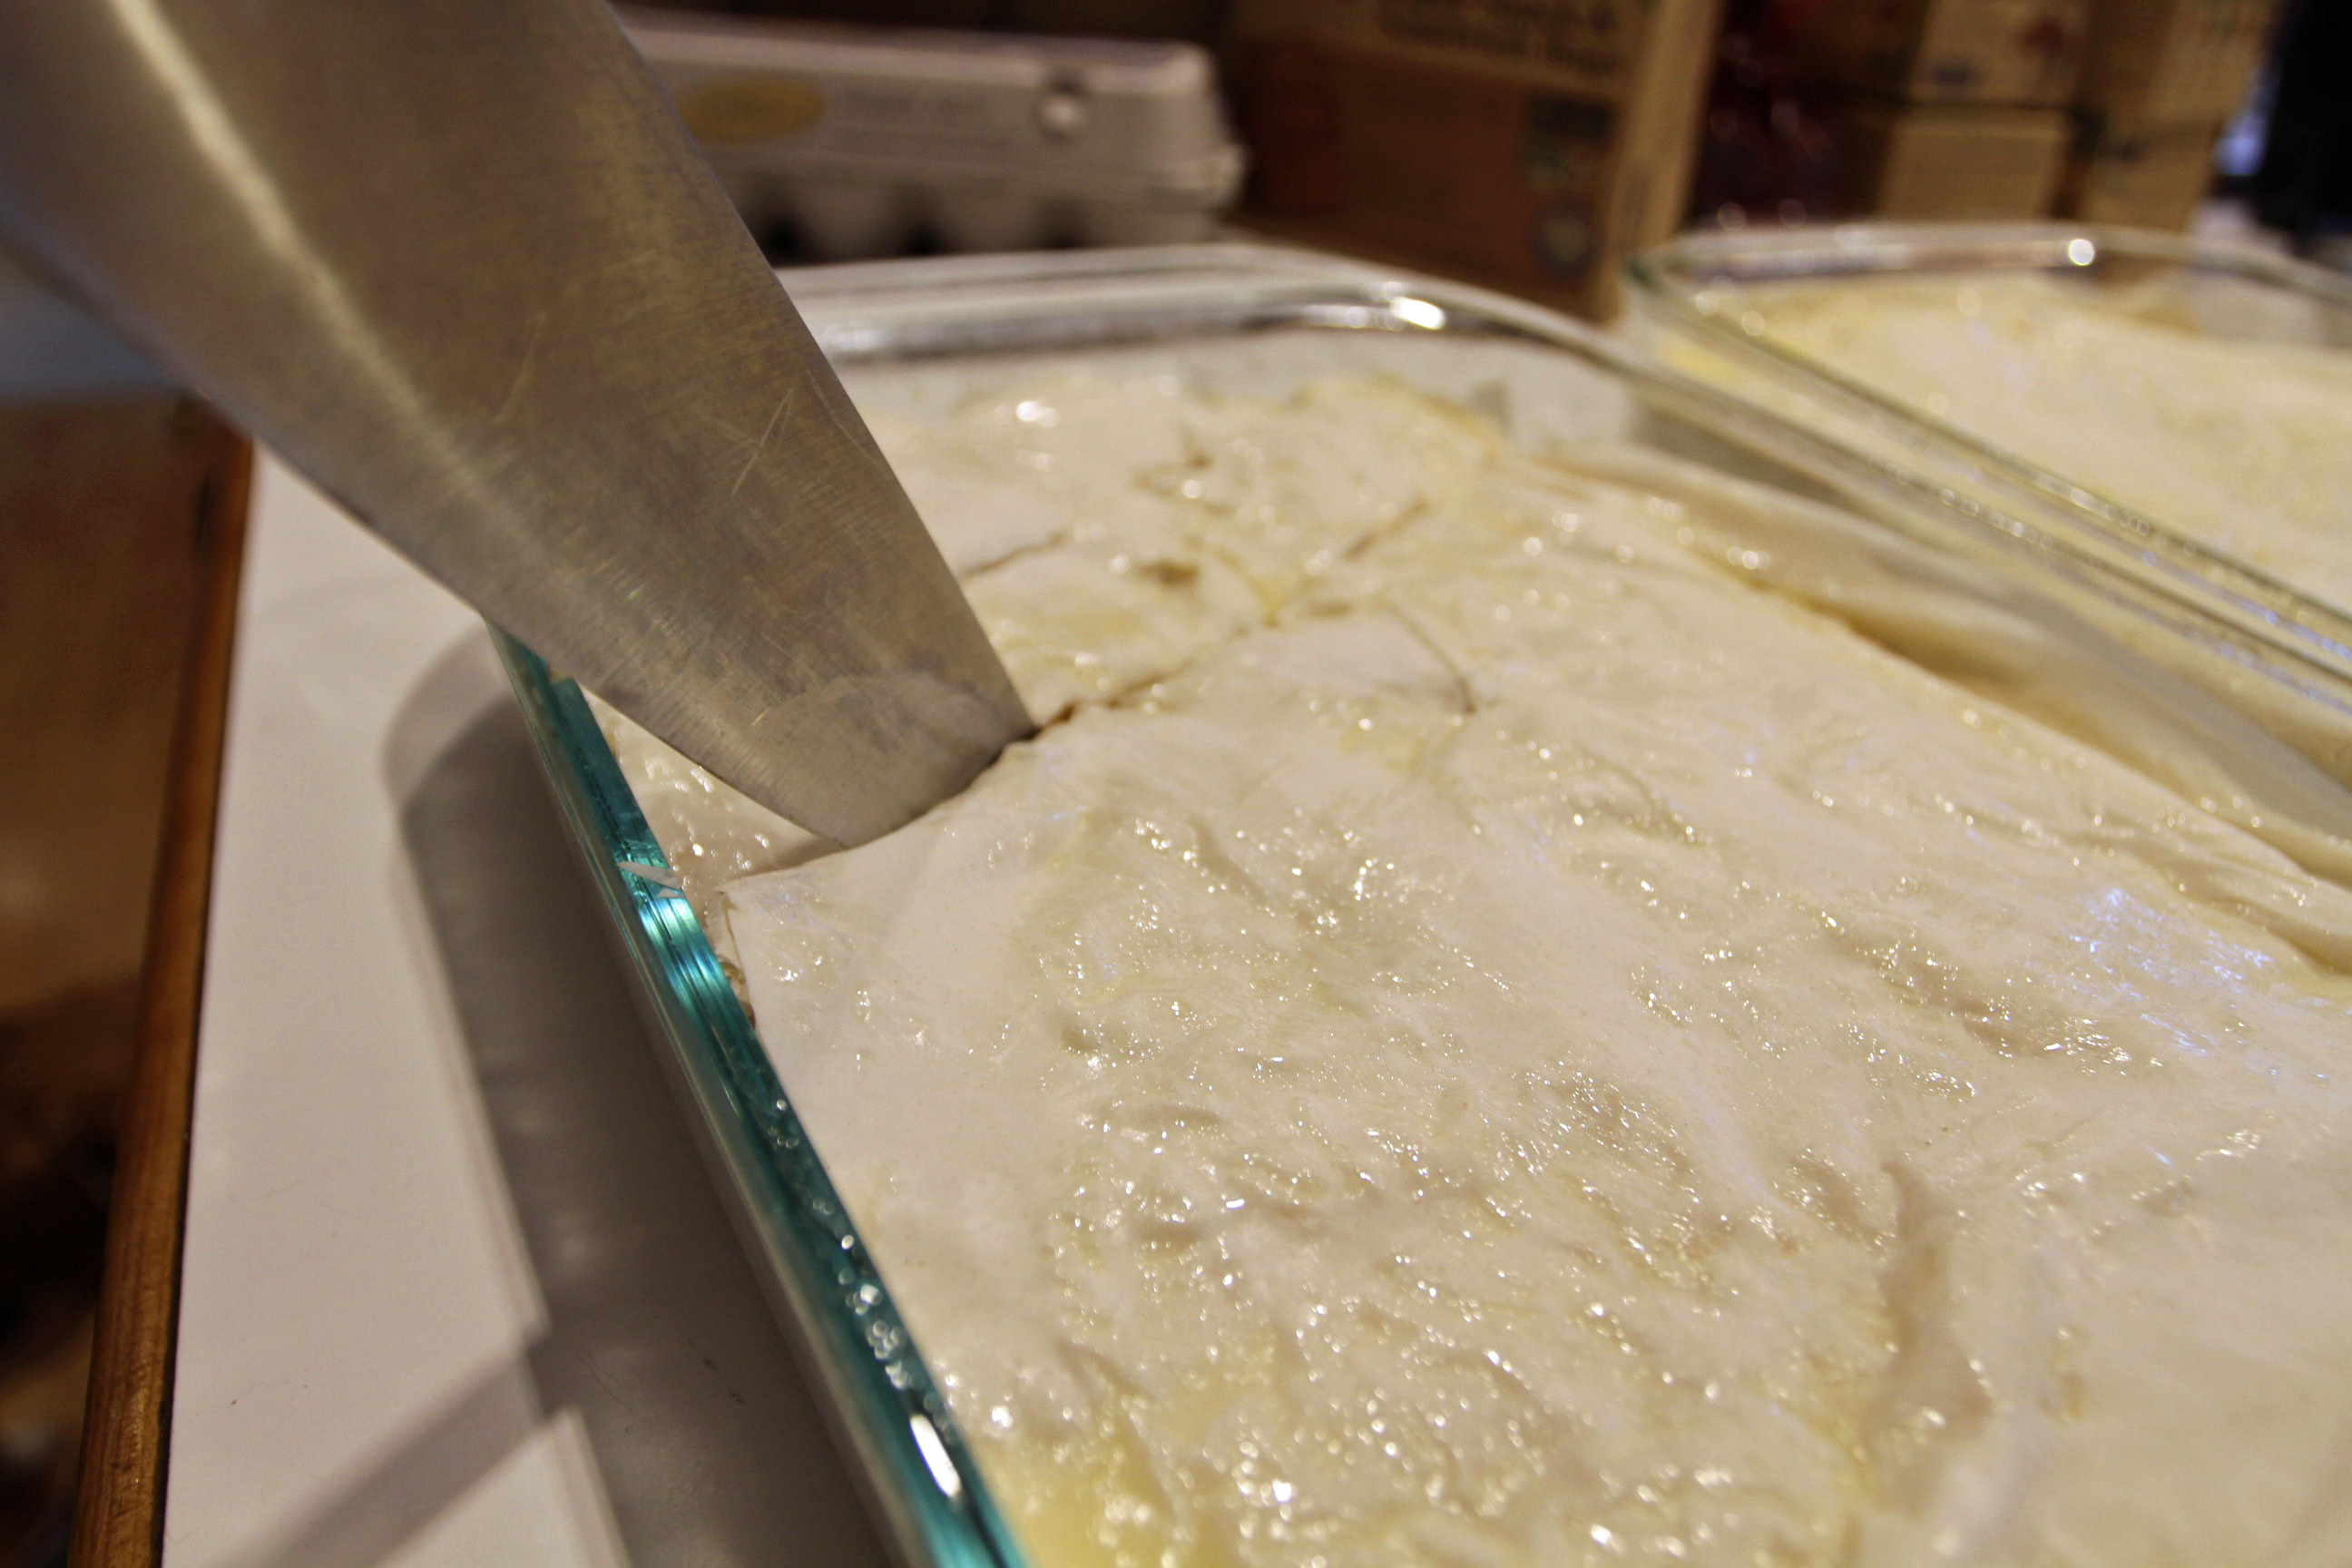
Next, use a knife to cut the uncooked baklava into diagonal pieces. You can make the pieces however big you want, but if you will be putting them into cupcake papers (as I sometimes do), make sure they are small enough to fit. Cut all the way through the bottom layer. This takes patience because the top layer will peel away sometimes. The more butter on the top layer, the less pulling away of that top layer of phyllo dough. Also, a spoon helps hold it down as you cut.
Bake the baklava in an oven preheated to 350 degrees for 50 minutes. Keep your oven light on and watch it carefully. The top should be golden brown, but often it browns too soon. If that happens, I put a loose layer of tin foil over the top. Another problem is that the bottom can start to brown/burn. If that happens, I put a thick pan underneath, like a Pampered Chef stone cookie sheet.

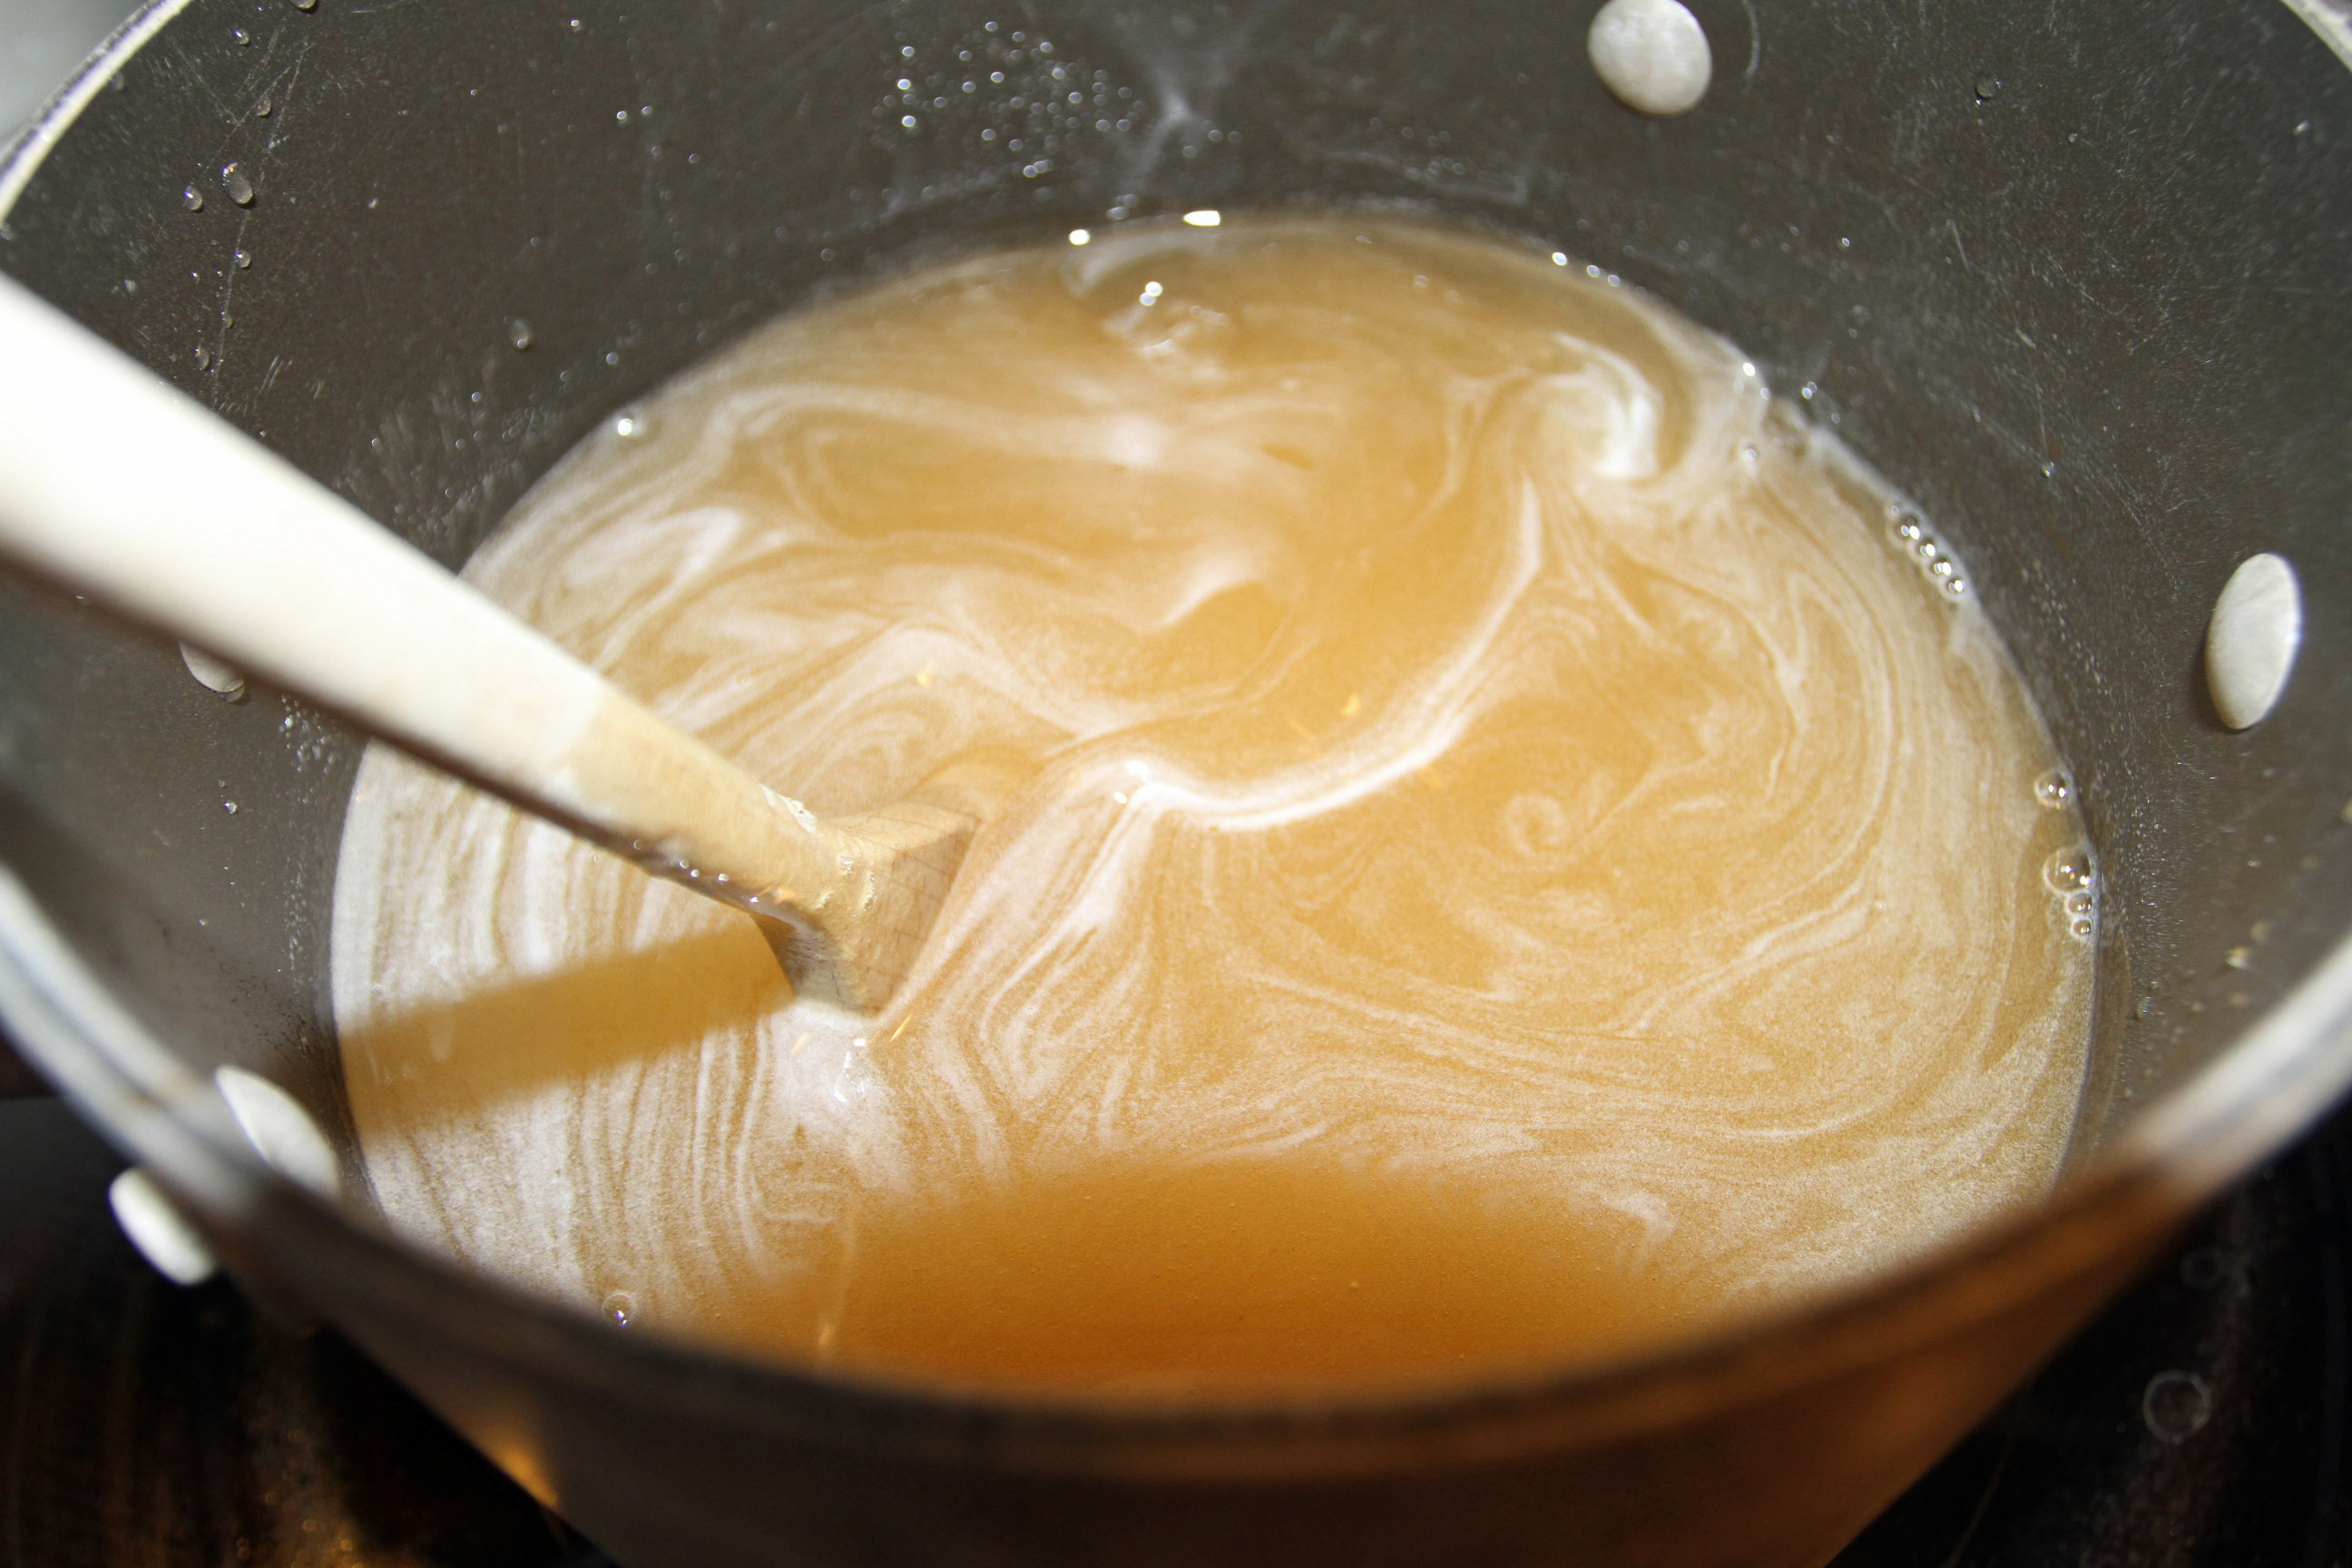
While the baklava is baking away, start the sauce. Mix one cup of sugar with one cup of water. Boil this mixture until the sugar melts. Add one cup of honey and one teaspoon of vanilla and simmer for 20 minutes. I stir continuously until it is a light simmer so it doesn’t scorch on the bottom.
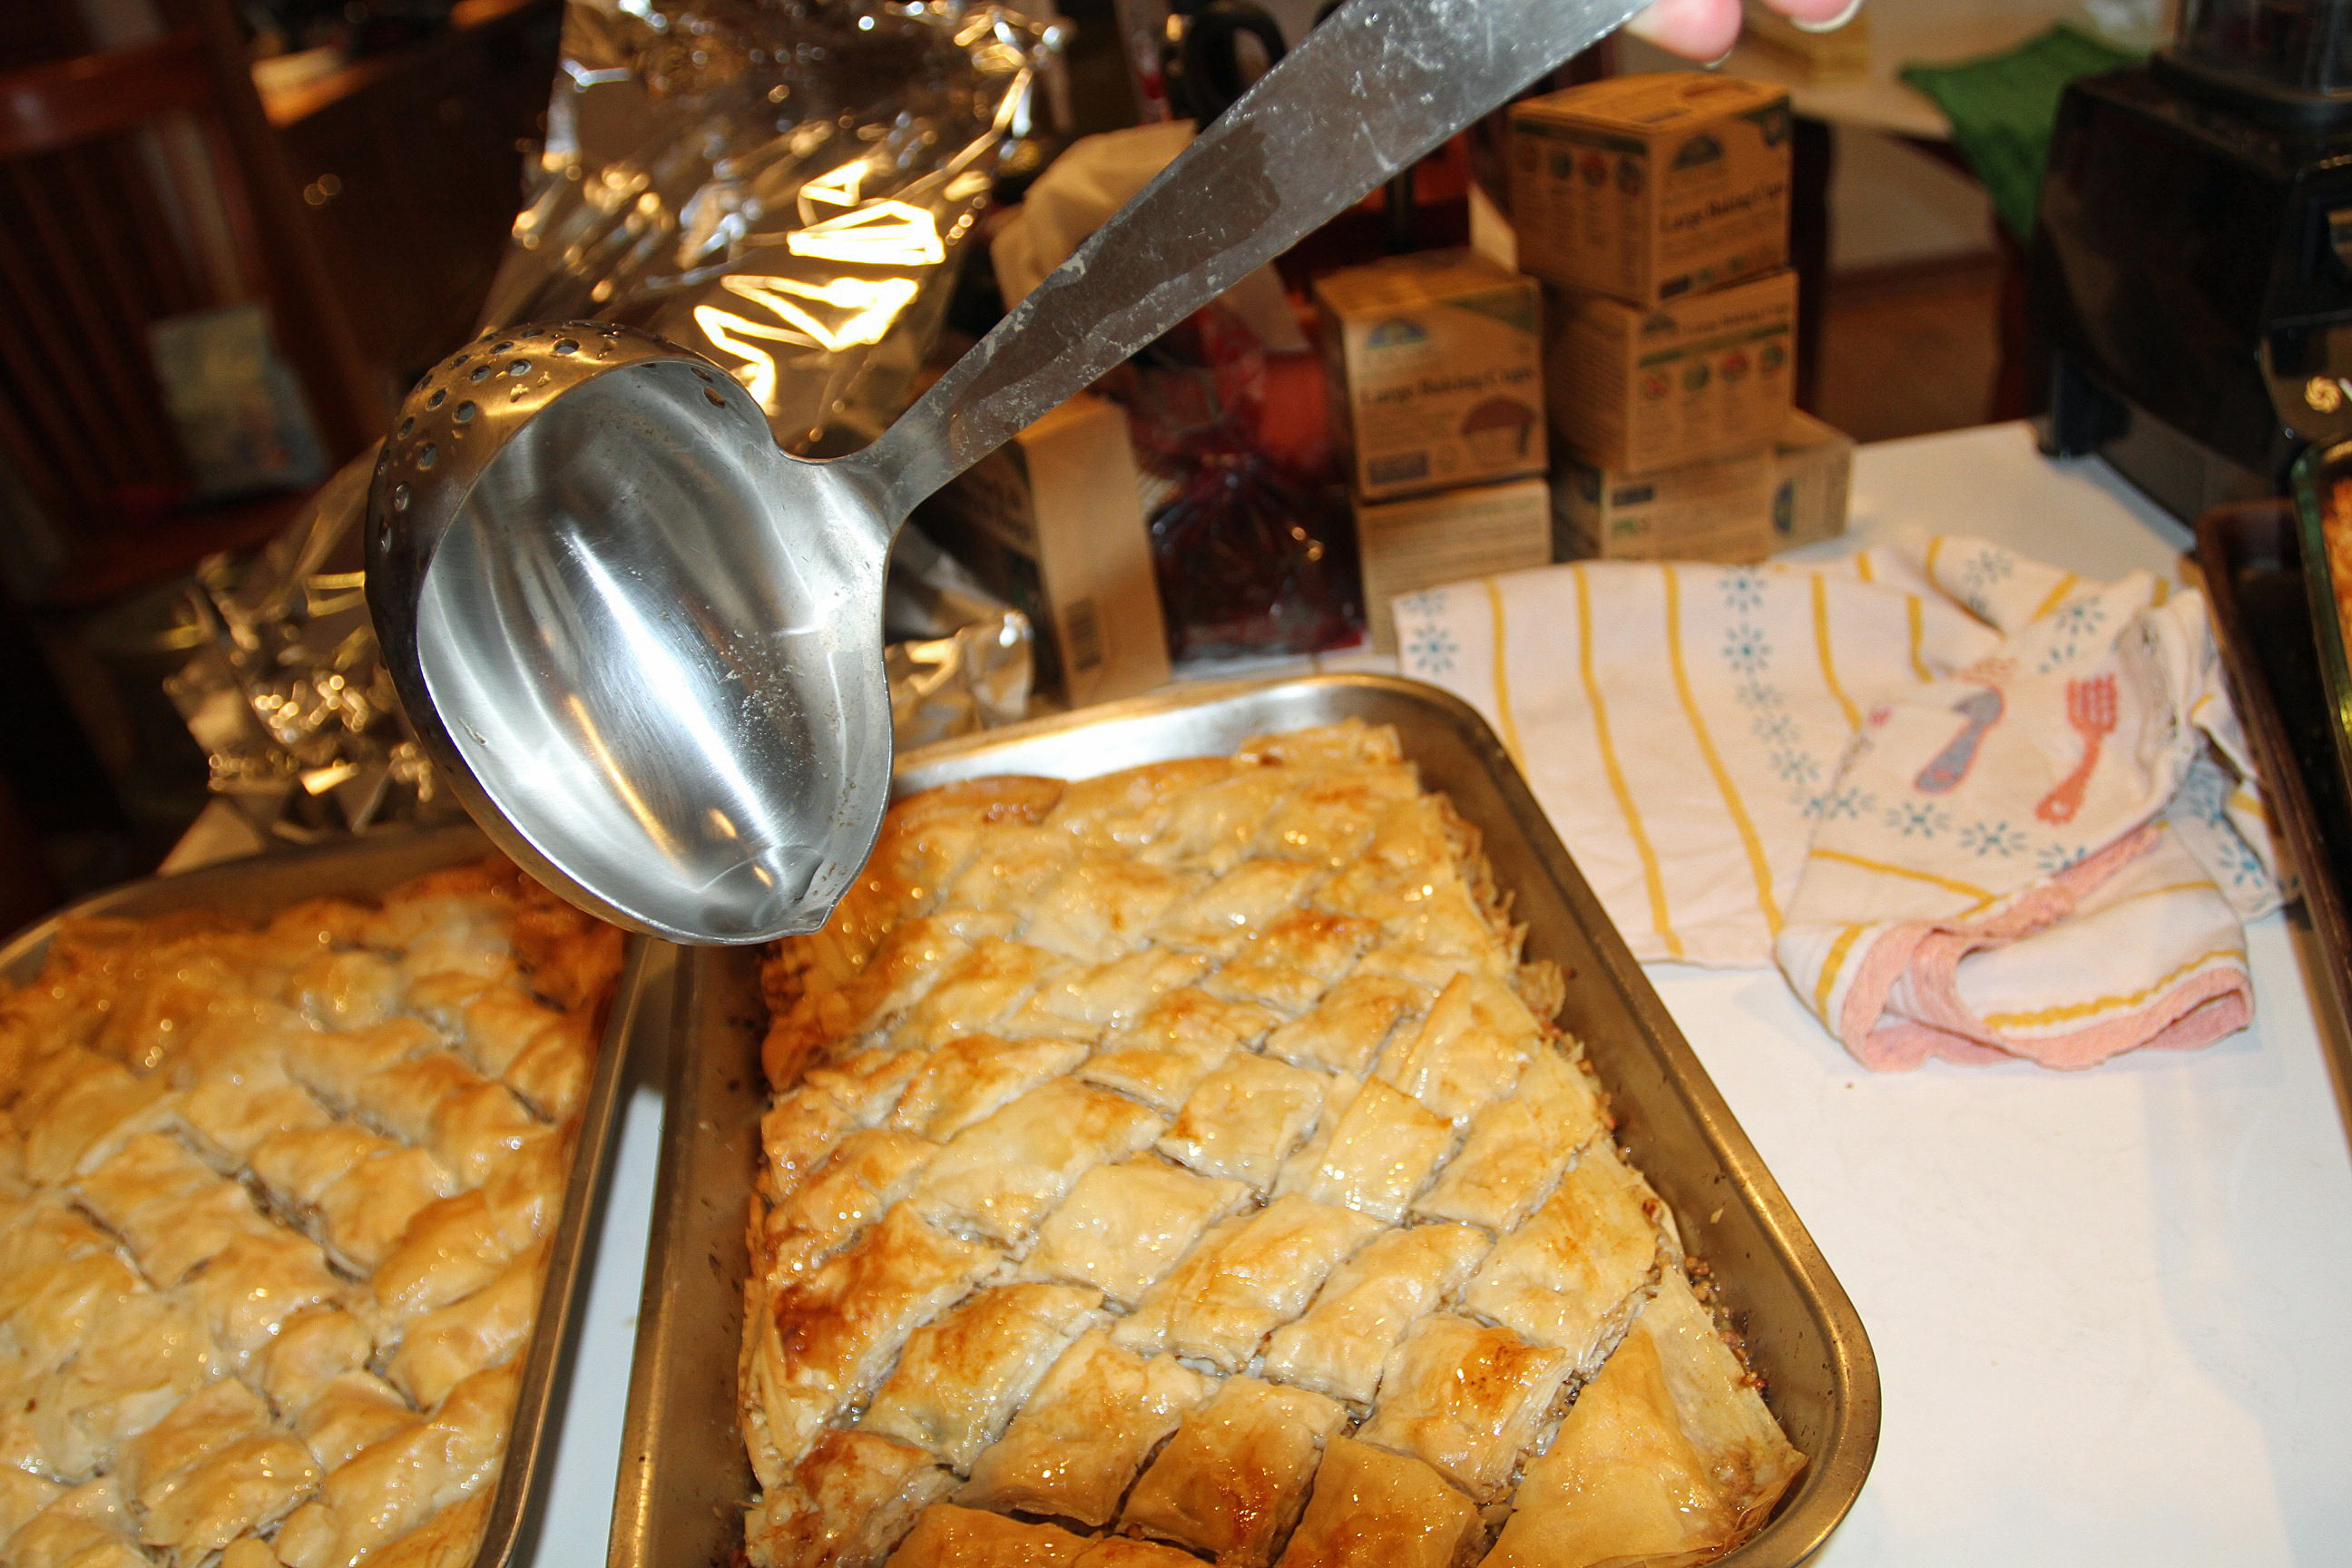 Take the baklava out of the oven, and while still hot, pour the sauce over the baklava and delight in the sizzle. Allow to cool completely. Don’t cover as it will make the baklava soft and mushy and you want it to stay crisp. After it’s cooled completely, use a small fork and spatula to carefully lift the diamond shaped pieces into cupcake papers. You may want to run a knife along the pieces to make sure they’re cut all the way to the bottom so you don’t end up dumping pieces and losing some.
 Enjoy!
